Hey everyone, Jason Rutherford here with Model Technology Solutions.
Today we’re going to talk about how to configure an external app proxy. Using application proxy from Azure enables you to expose an internal web application to the external world. Here are some additional use cases for application proxy in a hybrid existence configuration (as found in the Microsoft documentation).
- Publish on-premises web apps externally in a simplified way without a DMZ
- Support single sign-on (SSO) across devices, resources, and apps in the cloud and on-premises
- Support multi-factor authentication for apps in the cloud and on-premises
- Quickly leverage cloud features with the security of the Microsoft Cloud
- Centralize user account management
- Centralize control of identity and security
- Automatically add or remove user access to applications based on group membership
Let’s jump in.
What You’ll Need To Configure
The things you’ll need to have in place before you get started are:
- An internal web server/site to publish externally that your test user can access both internally and eventually externally
- An Azure subscription with user accounts sync’d
- An Azure application proxy server running on-premises (not covered in this video/blog)
The basic steps we’ll cover today are how to:
- Create your application in Azure (providing all the details URL, Authentication, etc.)
- Create a conditional access policy to target the newly created application for multifactor authentication
- Assign the users permissions to access the application
- Test the application
Let’s move into our use case example.
How To Configure an External App Proxy
Here is an internal website hosting some New Technology File System (NTFS) file shares.
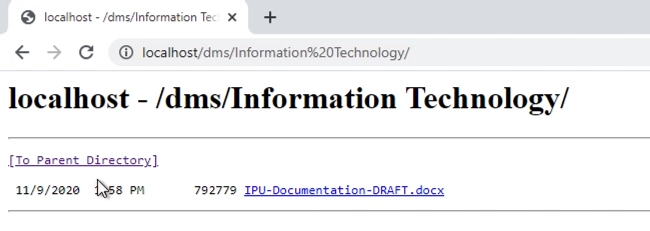 If we add the application to our Azure active directory, we can use things like conditional access to control how users access that data.
So, let’s create the application.
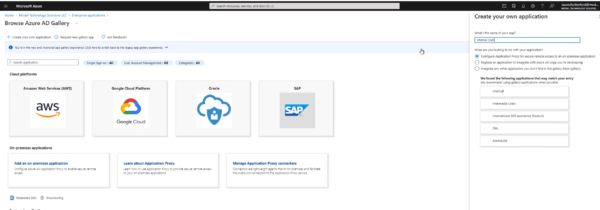
We’ll give the application a name, which will be the internal URL we verified, and set a couple of options. Notice there is also an external URL that has been created for us. This is configurable but the process is more complicated than we can cover in this blog post.
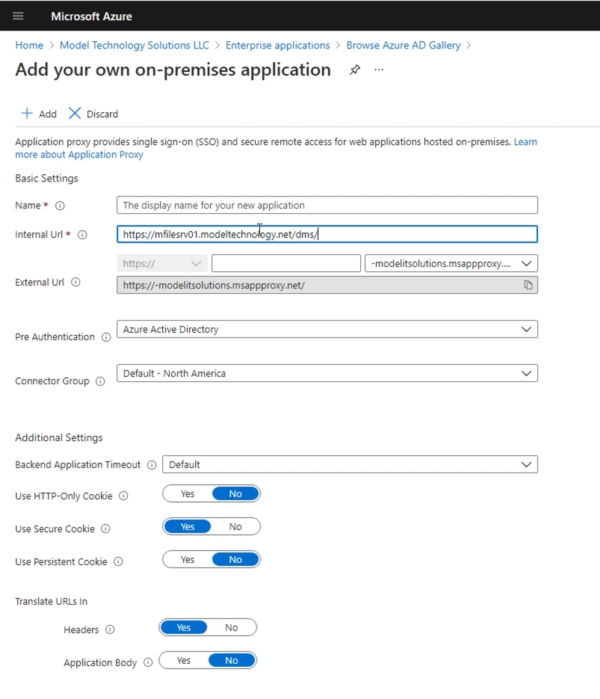
Next, in the application settings, we’ll configure the internal URL, authentication settings, and some additional items. Please note this blog will not explain all of these settings, and we’re not providing single sign-on for our demonstration purposes. Also, the connector group is where our Azure App Connector servers running on-premise reside. For this blog, we’ll just use the default. Please reference the image below.
Once this is added, we’ll create the conditional access policy next. This will basically force the multifactor authentication to the internal document management structure URL that we are going to publish externally.
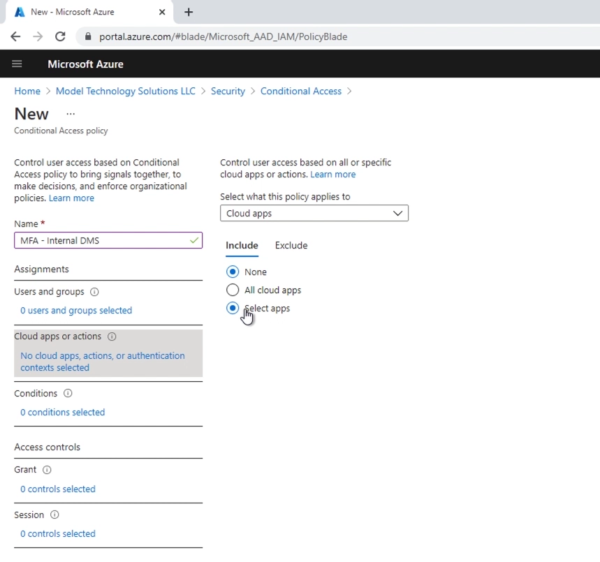
Now we can now pick our application.
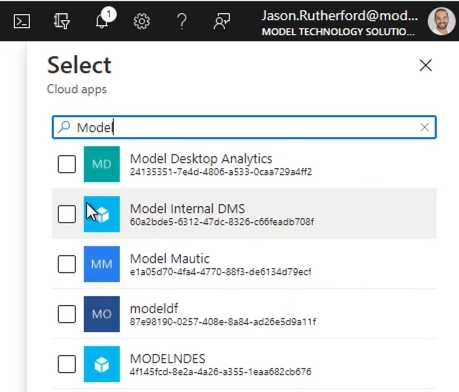
Next we’ll choose an appropriate target for our testing purposes.
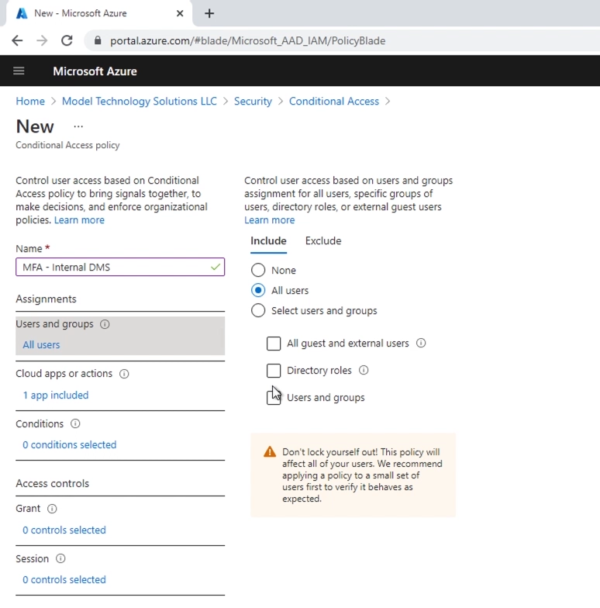
Once the conditional access policy is configured to prompt for MFA on the custom application, we’ll venture over to the application that was created in Azure AD. Notice the external URL, .msappproxy.net (there is a way to use a custom vanity domain here). The first thing we’re going to do is ensure that users have rights to view the application from Azure.
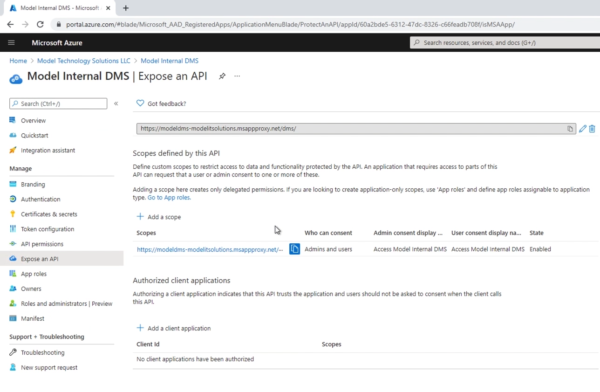
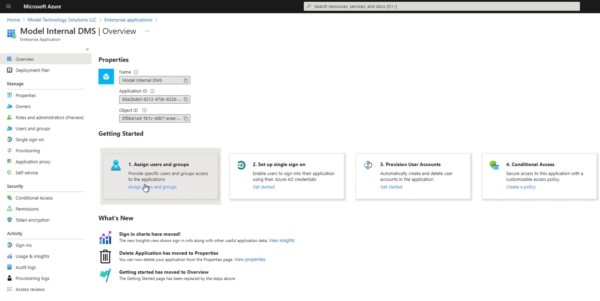
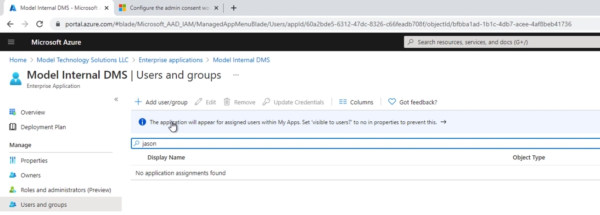
Once we’ve added the user’s rights, we can hit the external (.msappproxy.net) URL. Once you’ve satisfied the multifactor authentication prompt, you can see that the external version prompts us for authentication.

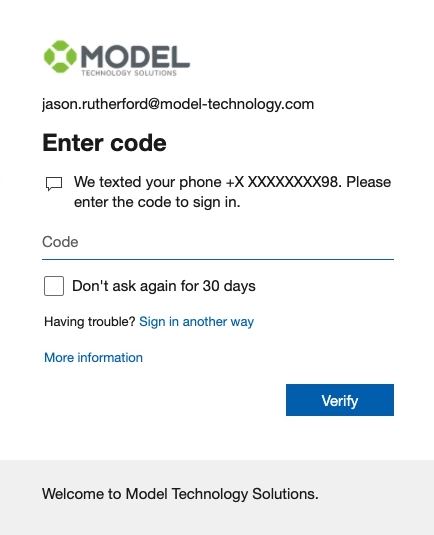

A pass through configuration can be set up for this, but we do not have that configuration set up for the scenario we’ve created today. Although the pass through configuration is very straightforward to set up, we will simply authenticate again.
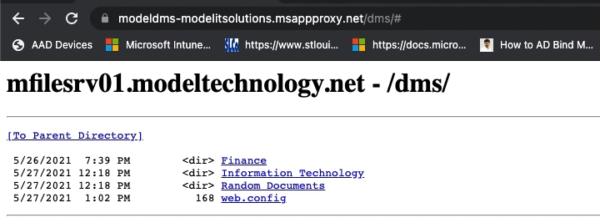
After authenticating a second time, you can see that using the URL we just highlighted gets you to the same data as you would on the internal side of the web server.
Notice that we are prompted for authentication internally as well.

We are authenticated in two directories to show you that one is using an internal FQDN…
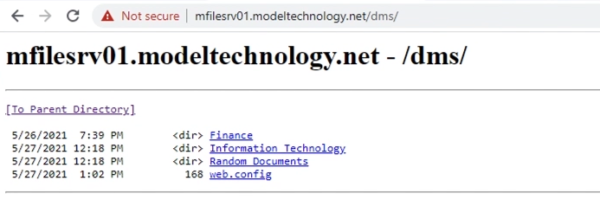
…and the second is using the external msappproxy.net from a different client to retrieve the same information.

And that is how you would configure a basic external app proxy to test within your organization.
