Hey there everyone,
Today I wanted to talk about an issue I have run into multiple times in working with ConfigMgr OS deployment (OSD) over the years and show you how through a fairly easy process you can overcome it!
The Problem:
You calculate the target OU of the machine you are imaging through CustomSettings.ini, User Driven Installation wizard, or any other method that sets the TS variable “MachineObjectOU”, however the computer object already exists in Active Directory in a different OU. As you have likely seen, this results in the MachineObjectOU variable being ignored and the computer simply rejoins to the existing object. If you are like me, you probably want your machine to be in the OU you specify in your deployment process.
DISCLAIMERS:
-This should be validated and tested in a Lab environment before moving it into production.
-Microsoft does not support ADSI in Windows PE.
A Solution:
Notice this is titled “A Solution”. There are many ways to accomplish this process, including using a Web Service. This is an alternative solution that may or may not fit your needs. 🙂
This solution is comprised of the following components:
-A delegated Service account
-ADSI Plugin for Windows PE
-PowerShell components for Windows PE
-PowerShell Scripts
-SCCM Collection Variables
-List of Domain Controllers
-SCCM Package
-Run Command Line Task in your Task Sequence
The Service Account
This account requires delegated permissions to the source and destination OU’s. I like to use the account I already have setup for joining machines to the domain that has the following rights delegated to the OU’s:
- This object and all descendants
- Create Computer objects
- Delete Computer objects
- Descendant Computer objects
- Read all properties
- Write all properties
- Change password
- Reset password
- Validated write to DNS host name
- Validated write to service principal
The ADSI Plugin
ADSI plugins for Windows PE are continually updated by our friend Johan Arwidmark and be can found here with installation instructions:
Windows PE 10
Windows PE 5
Windows PE 4
PowerShell components for Windows PE
Once you have your Windows PE updated with the ADSI plugin, you will also need to make sure you add PowerShell support to your boot image as well. This can done via the properties of your boot image in the ConfigMgr console.
1. Open the properties of your boot image.
2. Select the Optional Components tab.
3. Click the orange star to add additional components.
4. Select PowerShell.
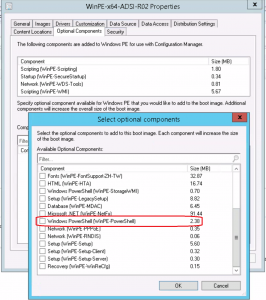
5. Click OK to accept additional components.
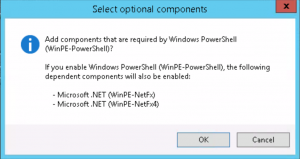
6. Click OK again to save the changes.
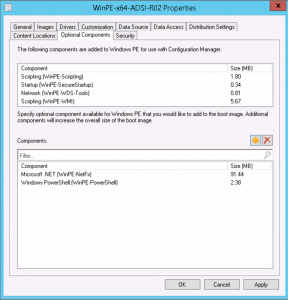
7. Update your boot image on your distribution points which will apply the new components to the boot image (and of course distribute the new image out to your DPs).
The Scripts
We are now ready to create a PowerShell script (2 actually) that you will turn into an SCCM Package. This package will be referenced in a “Run Command Line” Task in your Task Sequence.
Copy and Paste the scripts below into separate documents in Notepad, ISE, or whatever your favorite editor is. You can always replace the log script (Script 2) with your own. This one is about as basic as it gets. Please be mindful of word-wrap and adjust accordingly
Script 1: Move-ADObject.ps1
<#
.SYNOPSIS
This script will check for an existing AD Computer Object, and move it to the OU specified in MachineObjectOU (if in a different OU)
.REQUIREMENTS
ADSI Plugin for Windows PE
Powershell component for Windows PE
Standard AD User Account for authenticating to AD. Username/password set as Collection Variables
.USAGE
Modify the $Global:DCArray variable for Domain Controllers in your environment. You can add as many as you would like to try.
Update your Boot Image with ADSI plugin and Powershell components, then redistribute to your DP's.
Create a new Package containing this script and WriteLog.ps1, distributed to your DP's.
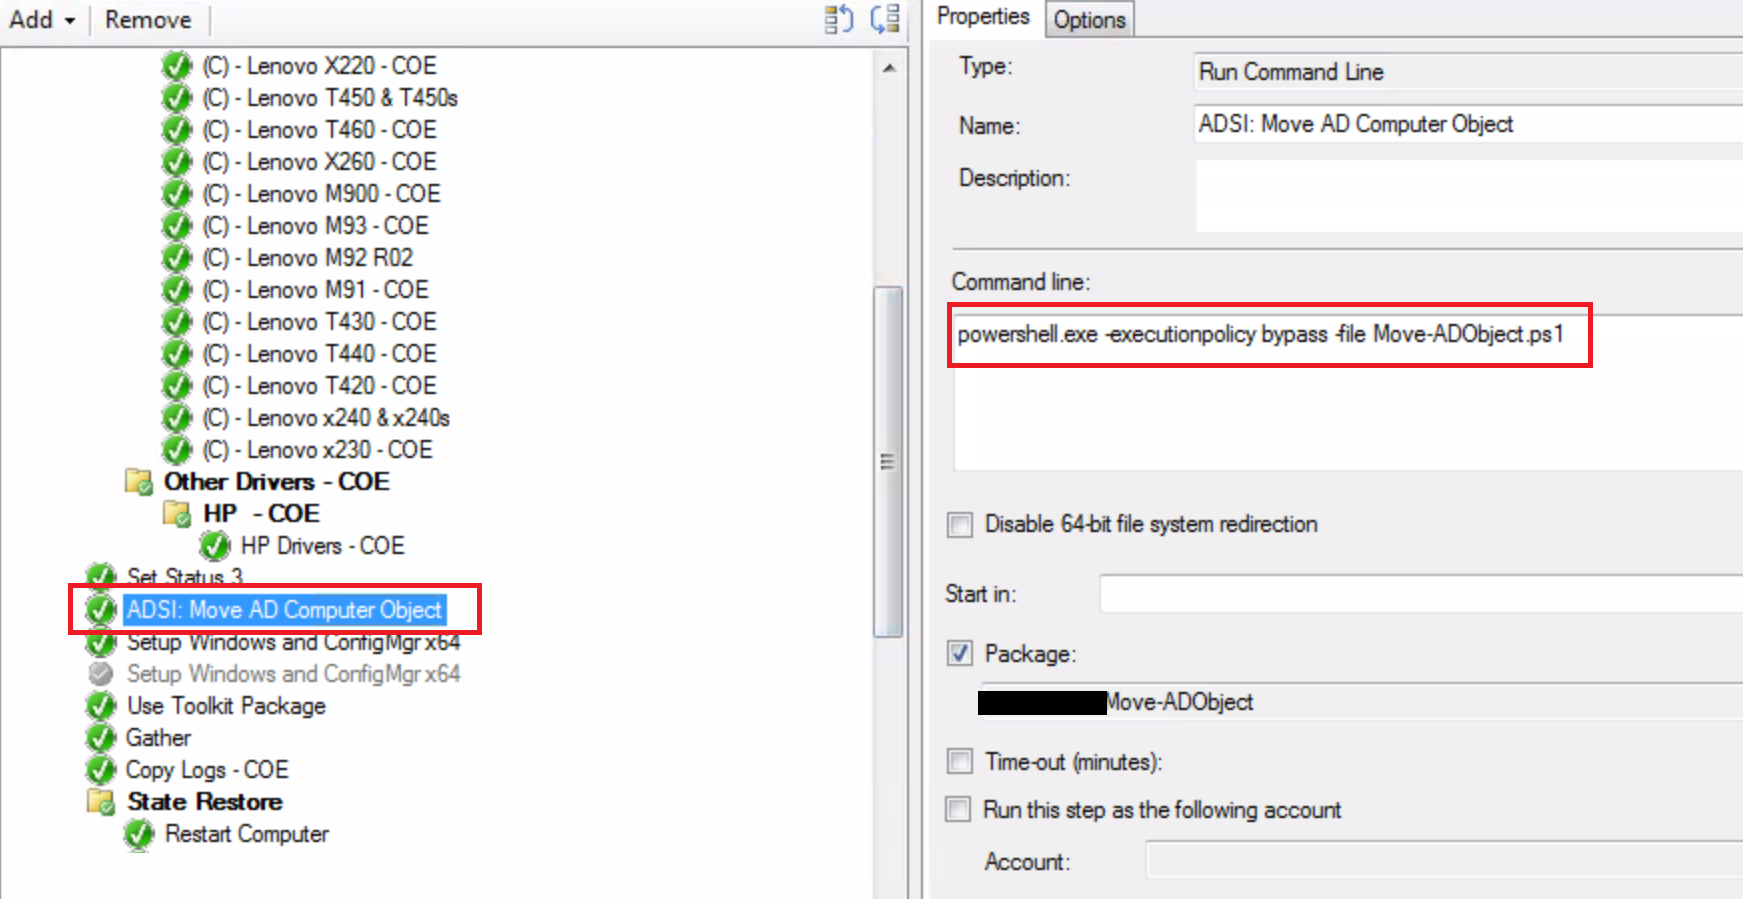
Create a new Run Command Line Task in your Task Sequence after the Apply OS Image task. (In the Pre-Install Phase, prior to first reboot)
Command line: Powershell.exe -executionpolicy ByPass -File Move-ADObject.ps1
#>
. .\WriteLog.ps1
# Modify this variable for Domain Controllers in your environment.
$Global:DCArray = "MYDC01", "MYDC02","MYDC03"
$LogFile = "X:\WINDOWS\TEMP\SMSTSLog\Move-ADObject.log"
$tsenv = New-Object -ComObject Microsoft.SMS.TSEnvironment
# GET CREDS FROM TS VARIABLE
$TSuser = $tsenv.Value("TSuser")
$TSpwd = $tsenv.Value("TSpwd")
$OSDComputerName = $tsenv.Value("OSDComputerName")
$MachineObjectOU = $tsenv.Value("MachineObjectOU")
WriteLog -LogFile $LogFile -LineOftext "Retrieved the following variables from the TS Enviroment"
WriteLog -LogFile $LogFile -LineOftext "TSUser: $TSuser"
WriteLog -LogFile $LogFile -LineOftext "OSDComputerName: $OSDComputerName"
WriteLog -LogFile $LogFile -LineOftext "MachineObjectOU: $MachineObjectOU"
Function Get-ADSI
{
Foreach ($DC in $Global:DCArray)
{
$domaininfo = new-object DirectoryServices.DirectoryEntry("LDAP://$DC",$TSuser,$TSpwd)
$ds = New-Object System.DirectoryServices.DirectorySearcher($domaininfo)
if ($ds.SearchRoot.name.Value)
{
break
}
Else
{
WriteLog -LogFile $LogFile -LineOftext "Failed to contact DC: $DC"
}
}
$DC
$DS
}
Function CheckForExistingADObject
{
[CmdletBinding()]
param (
[Parameter(Mandatory=$true)]
$ADConnection,
[Parameter(Mandatory=$true)]
$OSDComputerName
)
$ADConnection.filter = "(&(objectCategory=computer)(Name=$OSDComputerName))"
$ADConnection.propertiestoLoad.add("name") > $null
$ADConnection.propertiestoLoad.add("distinguishedname") > $null
$ComputerProps = $ADConnection.FindAll()
$ExistingDN = $ComputerProps.Properties.distinguishedname
If ($ExistingDN)
{
# Create TS Variable
$tsenv.Value("ExistingDN") = $ExistingDN
# DEBUG: Return TS Variables for Logging
$ExistingDN = $tsenv.Value("ExistingDN")
#Write TS Variables to Log
WriteLog -LogFile $LogFile -LineOftext "TS Variable ExistingOU: $ExistingDN"
}
Else
{
$ExistingDN = $null
WriteLog -LogFile $LogFile -LineOftext "Object does NOT already exist in AD"
}
Return $ExistingDN
}
# Attempt to Bind to an AD Domain Controller
$Return = Get-ADSI
$DC = $Return[0]
$DS = $Return[1]
If (!($DS))
{
WriteLog -LogFile $LogFile -LineOftext "ERROR: Unable to connect to any provided Domain Controllers."
Exit
}
$ExistingDN = CheckForExistingADObject -ADConnection $DS -OSDComputerName $OSDComputerName
If ($ExistingDN)
{
WriteLog -LogFile $LogFile -LineOftext "Existing Object in AD: $ExistingDN"
$DestinationDN = "CN=$OSDComputerName,$MachineObjectOU"
If ($ExistingDN -eq $DestinationDN)
{
WriteLog -LogFile $LogFile -LineOftext "Machine object already exists in the selected OU. Not moving"
}
Else
{
$from = new-object DirectoryServices.DirectoryEntry("LDAP://$DC/$ExistingDN",$TSuser,$TSpwd)
$to = new-object DirectoryServices.DirectoryEntry("LDAP://$DC/$MachineObjectOU",$TSuser,$TSpwd)
$from.PSBase.MoveTo($to,"cn="+$from.name)
If ($?)
{
WriteLog -LogFile $LogFile -LineOftext "Machine Object Moved to $MachineObjectOU"
}
Else
{
WriteLog -LogFile $LogFile -LineOftext "ERROR: Unable to move Object to $MachineObjectOU"
}
}
}
Else
{
WriteLog -LogFile $LogFile -LineOftext "Could not find an existing object for $OSDComputerName in Active Directory"
}
Script 2: WriteLog.ps1
Function WriteLog
{
    [CmdletBinding()]
    param (
    [Parameter(Mandatory=$true)]
    [string]$LogFile,

    [parameter(Mandatory=$True)]
    [string]$LineOfText

    )

    $Date = Get-Date
    Add-Content $LogFile "$Date - $LineOfText"
}
The Collection Variables
Create 2 new collection variables for your delegated service account. At a minimum when setting the variable for the password, select “Not not show this value in the console”. This will ensure its not stored in clear text.
Variable Name: TSUSER, Value: DOMAIN\ServiceAccountName
Variable Name: TSPWD, Value: ServiceAccountPassword
Obvious I am sure however, change the values to match your service account and domain. 🙂
The DC’s
Edit Script 1 and modify $Global:DCArray = “MYDC01”, “MYDC02″,”MYDC03” to 3 (or more!) Domain controllers you want your script to attempt to talk to.
Each domain controller will be contacted in order. Once any of the DC’s respond the script will continue. I like to use 3, in various locations.
The SCCM Package
Create a new Package in SCCM that contains both script files. Do not create a program when prompted. Don’t forget to distribute the package to your DP’s 😉
The Task Sequence
Now that you have everything you need to perform the process, add a new Task in your Task Sequence before the State Restore phase (Prior to joining the domain) with the command:
PowerhShell.exe -ExecutionPolicy Bypass -File Move-ADObject.ps1Click the package check-box and select the new package containing the scripts.
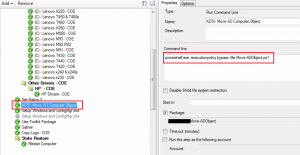
You are now ready to start testing.
As with any problem, there are numerous paths to victory. I find this one easy and painless and works like a charm. No more manually moving Computer objects! Automation is awesome.
