
Greetings everyone,
If you haven’t heard by now, the newest branch of SCCM 1706 brought the concept of managing PowerShell scripts within the Administrators console that can be executed against Devices or Device Collections. This a an awesome feature that has tons of possibilities. You may have quickly noticed that you cannot pass parameters to your shiny scripts like most of did. Well that is changing in the newer Tech Previews!
[br]
Today’s post is focused on Tech Preview 1708 which as you likely guessed, now DOES allow you to pass parameters to your scripts.
[br]
The obvious implication here is the ability to create your own “Right Click Tools” that have been a mainstay for SCCM admins for years. You can now create and manage (I use manage lightly at this time) your own scripts.
Today however, I want to talk about a different way of using the Scripts node to help you administer SCCM. I’ll give one example; however I imagine this will spark many ideas on how to make Scripts work for you!
[br]
Example:
Maybe you have a process defined for when a new Application is introduced into SCCM. In our (basic) example, we are going to create a PowerShell script that will create a new Device collection based on the Application name you supply in the parameter, which you will then execute against a collection that contains your Primary Site Server only.
[br]
Prerequisites:
When a Script is executed against a collection or device, it executes on the target client using the SYSTEM context. There is a tiny (big) issue with this when you want to run a PowerShell script. When executing as SYSTEM, the SCCM PS Drive is unavailable by default after importing the module. This is due to the fact that the ConfigurationManager.psd1 is signed and this not trusted by default when running under the SYSTEM context.
[br]
There is however, a very simple solution to this problem:
[br]
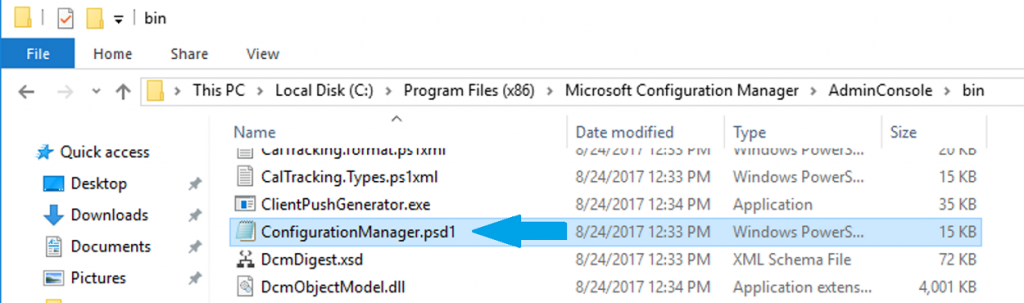
From the Primary Site Server, navigate to the directory that contains the ConfigurationManager.psd1 module.
[br]
Right click ConfigurationManager.psd1 and choose properties.
[br]
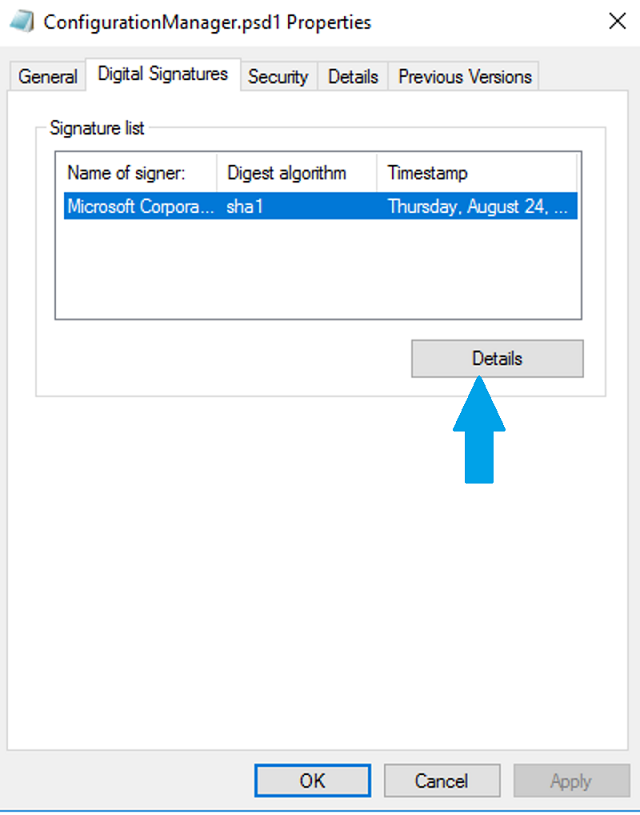
On the Digital Signatures tab, click Details.
[br]
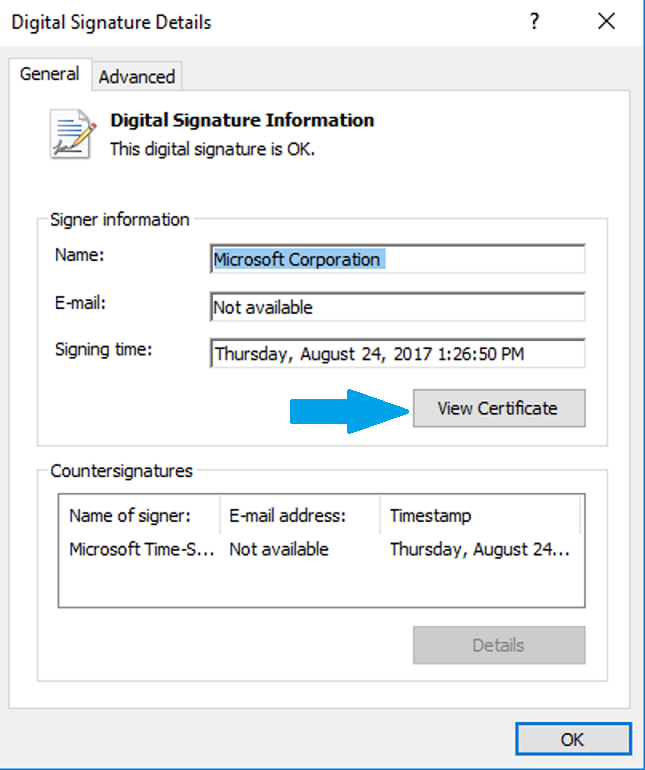
Click View Certificate.
[br]
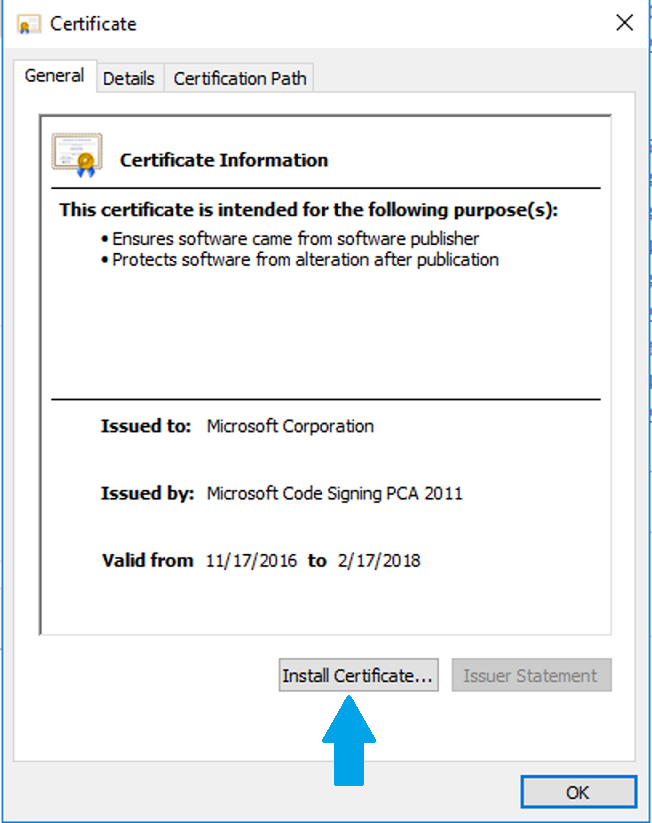
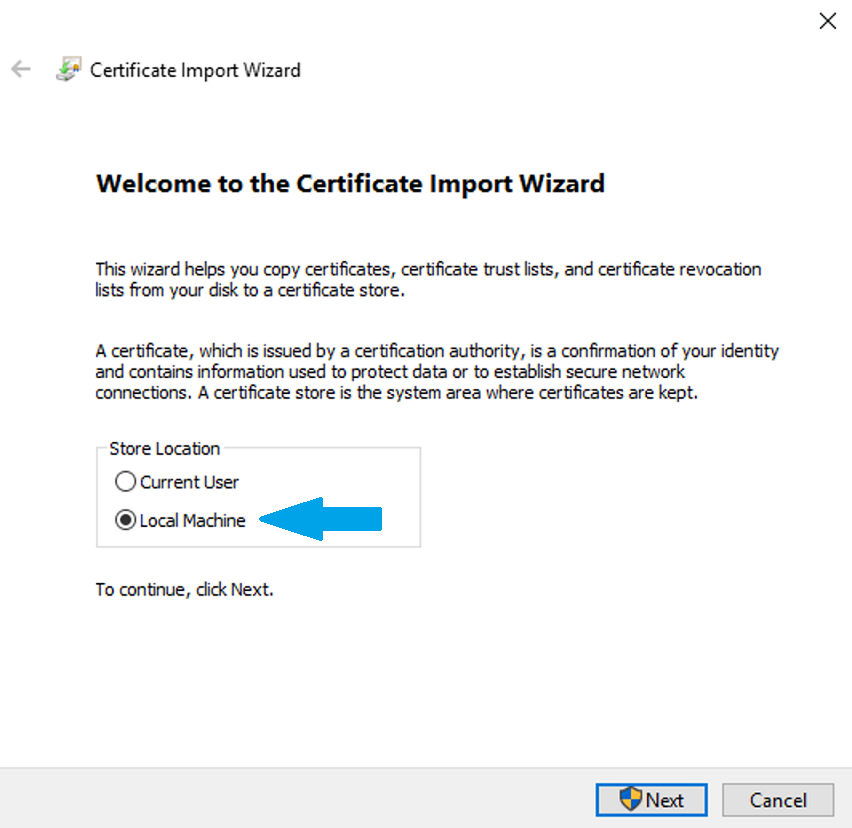
Select Install Certificate.
[br]
Select Local Machine and click Next.
[br]
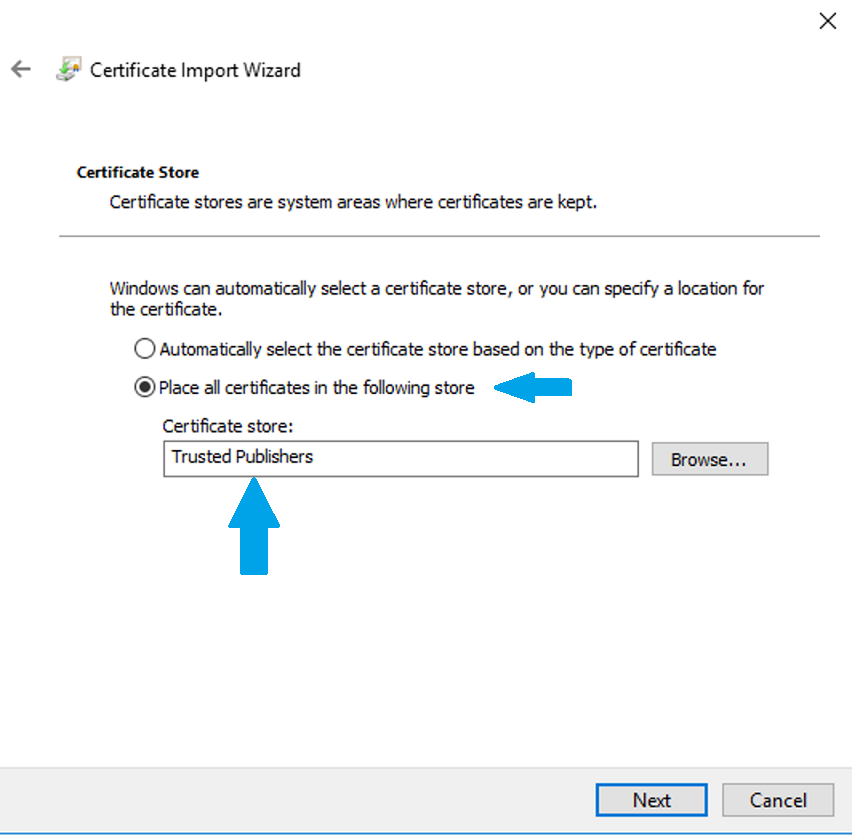
Select Place all certificates in the following store and browse to select Trusted Publishers.
[br]
Click Finish.

[br]
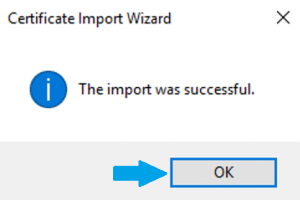
Click OK!
[br]
The certificate is now in trusted publishers for the local machine, thus you can now access the SCCM drive after importing the PS module.
[br]
Putting it all together:
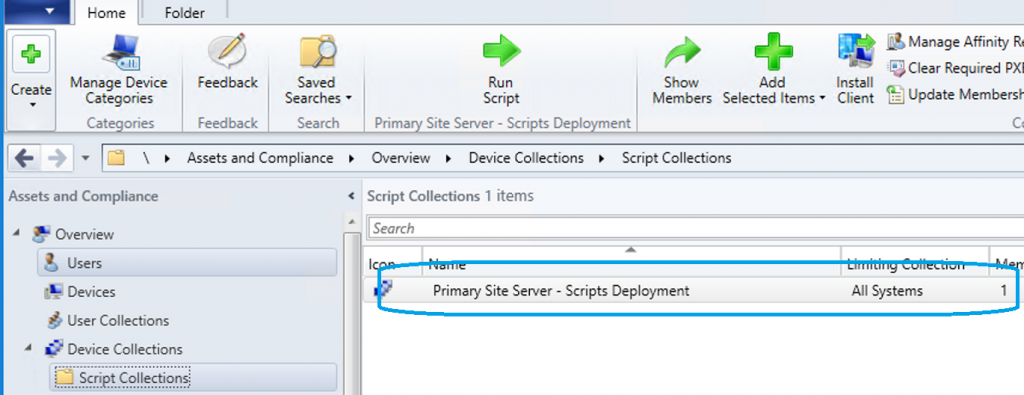
Create a new Collection. In our example we called it Primary Site Server – Scripts Deployment
[br]
Add the Primary Site Server object into this collection.
[br]
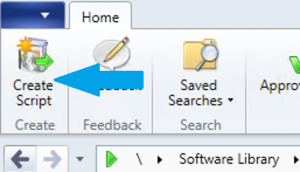
Navigate to the Software Library>Scripts and click Create Script from the ribbon.
[br]
Name the Script appropriately. In our example we used Create TESTING Collection (Available). This will create a device collection based on our testing process naming standards where we include TEST in the name as well as Available. We use Available as that’s generally how we test our apps with our pilot users before rolling out.
![]()
[br]
Add the PowerShell code that we want to execute and click Next. Important note: the Parameters tab will disappear if you do not have the parameter defined in the code.
[br]
We add the following (admittedly lazy) code:
[CmdletBinding()]
Param
(
    [Parameter()]
    [String]$AppName

)
${env:ProgramFiles(x86)}
Import-Module "${env:ProgramFiles(x86)}\Microsoft Configuration Manager\AdminConsole\bin\ConfigurationManager.psd1"
CD TP1:
$Schedule = New-CMSchedule -DurationInterval Days -DurationCount 0 -DayOfWeek Tuesday
New-CMDeviceCollection -LimitingCollectionName "All Systems" -Name "TEST - $AppName - Available" -RefreshType Periodic -RefreshSchedule $Schedule
[br]
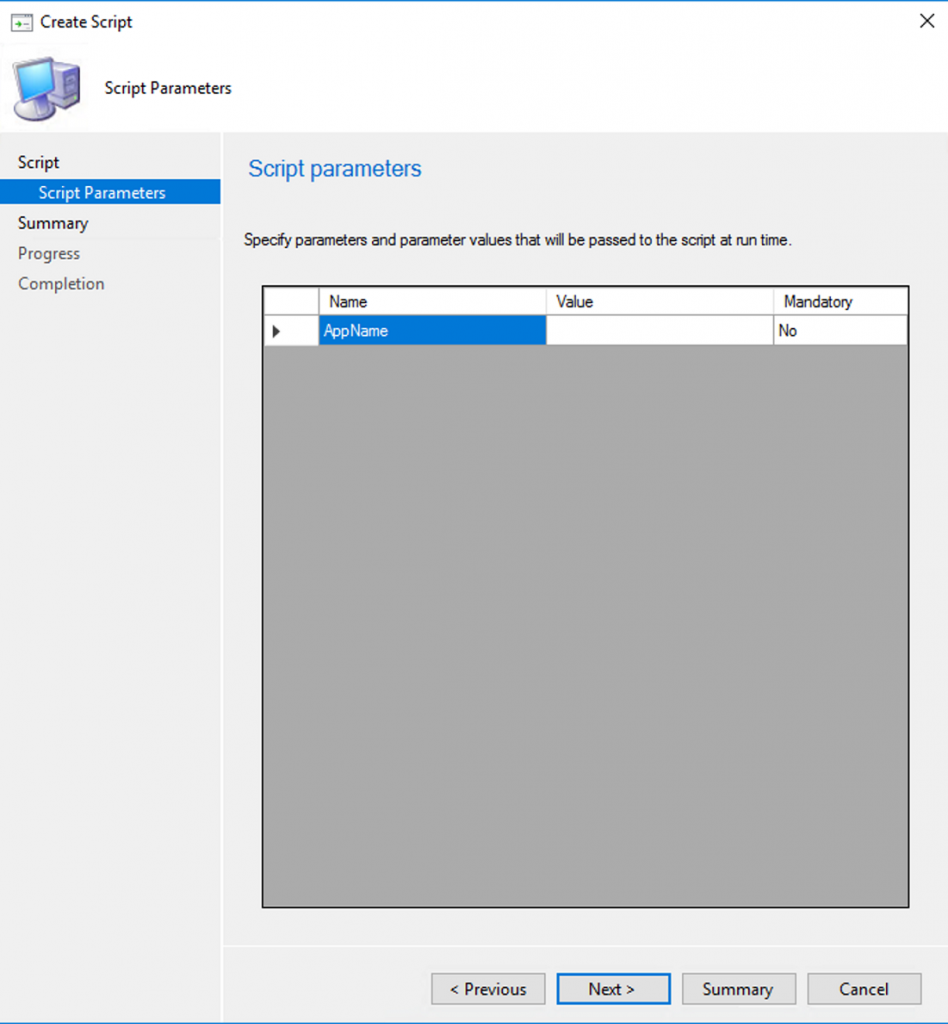
As you can see, SCCM detected the defined parameter and has a blank Value (which we want to leave blank). Click Next.
[br]
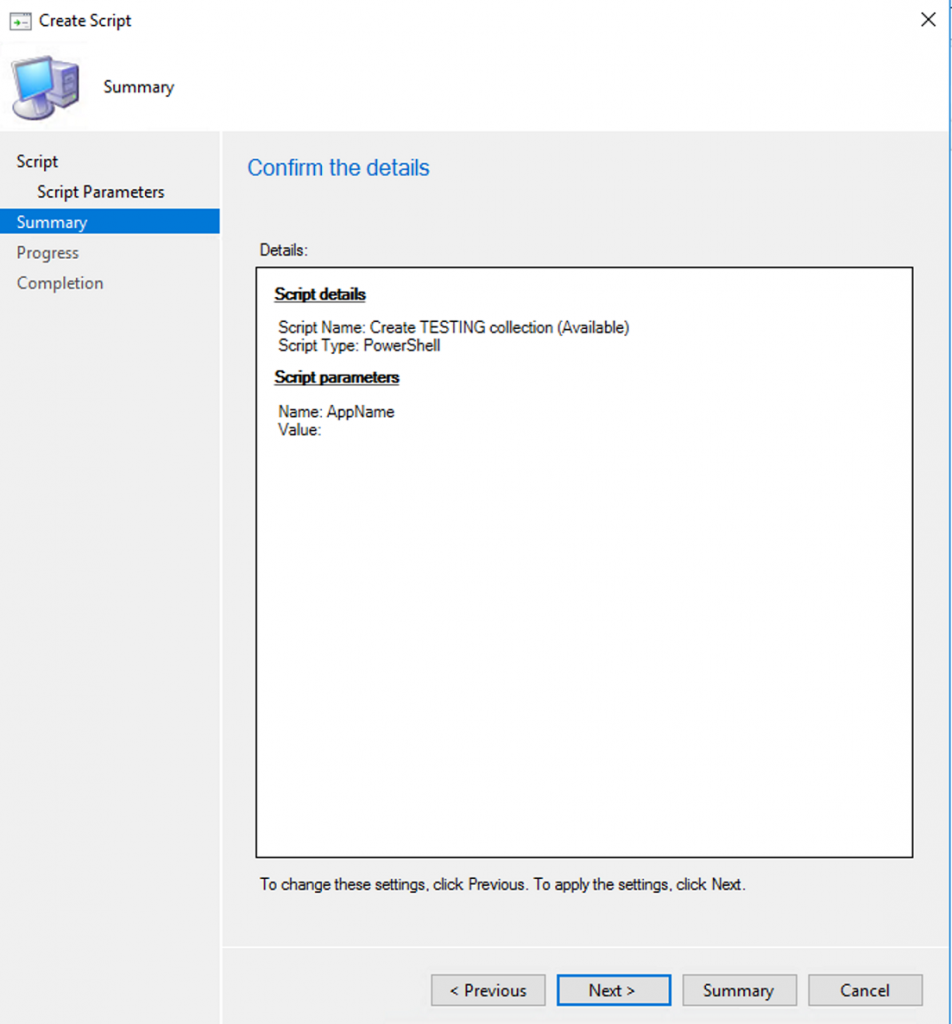
At the Summary tab, click Next.
[br]
Click Close.
[br]
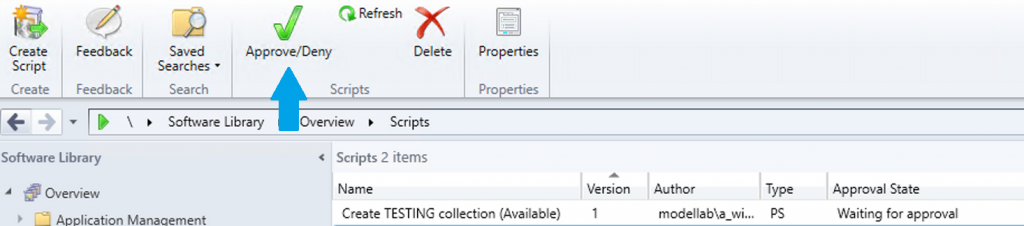
We must now approve our Script before we can deploy it. IMPORTANT: By default you cannot approve your own scripts. There are many practical reasons why you would want this, however for lab environments like mine, I disable that by going to the Hierarchy settings and unchecking the box.
[br]
Click your newly created script and select Approve/Deny.
[br]
Click Next.
![]()
[br]
Leave the Value blank and click Next.
![]()
[br]
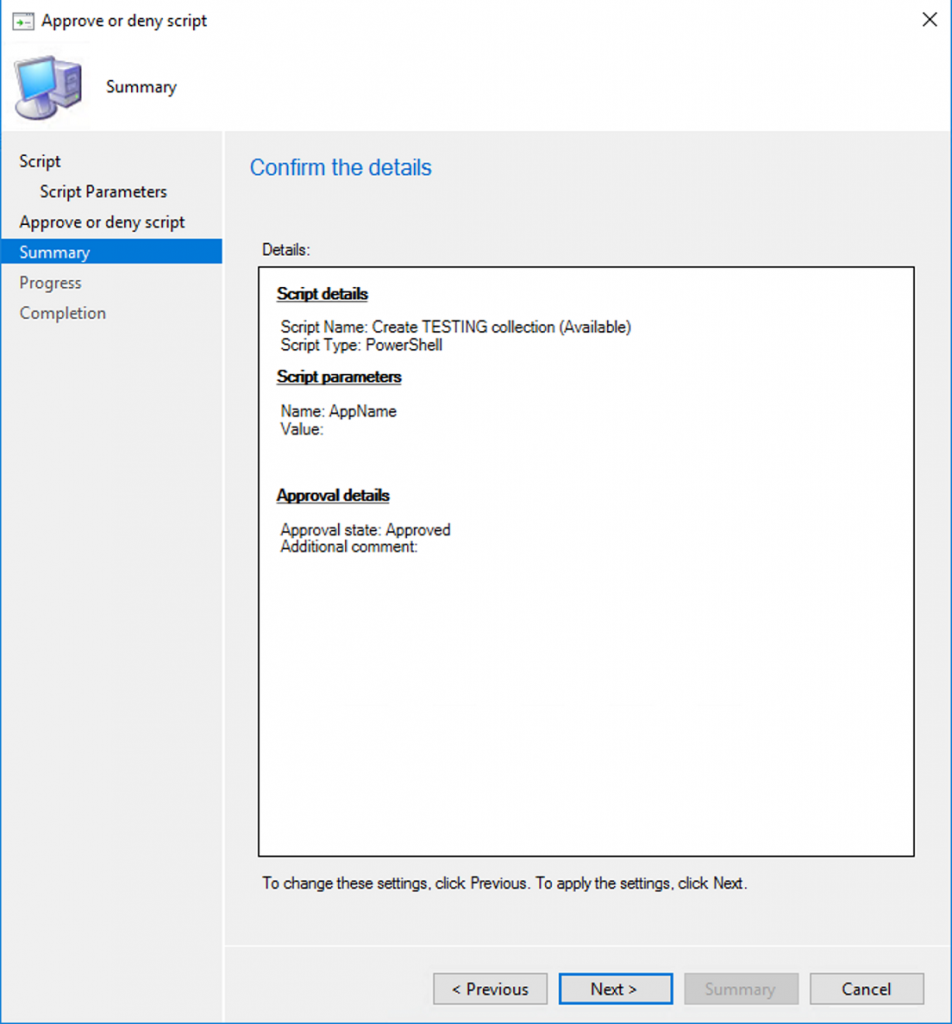
Ensure Approve is selected and click Next.

[br]
Click Next again.
[br]
Click Close.
[br]
Okay our script is now approved. Let’s go run it shall we?
[br]
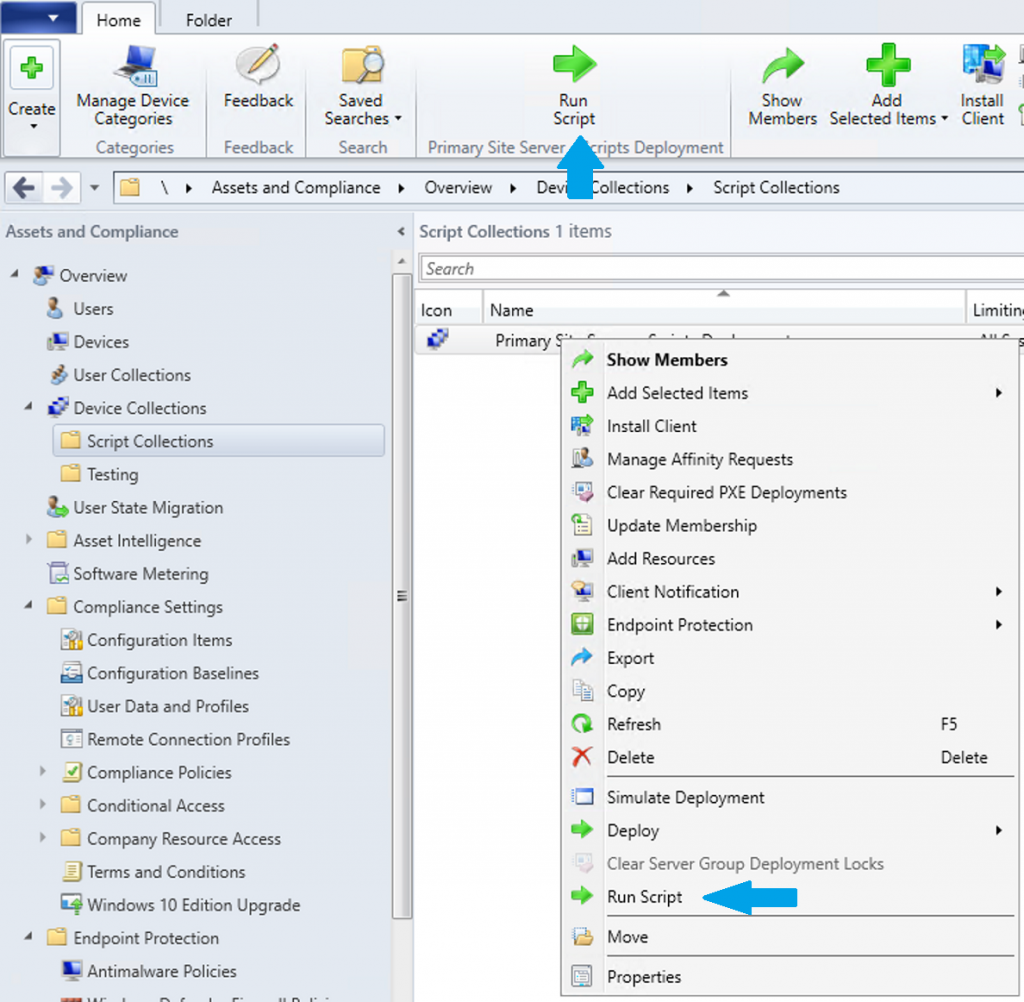
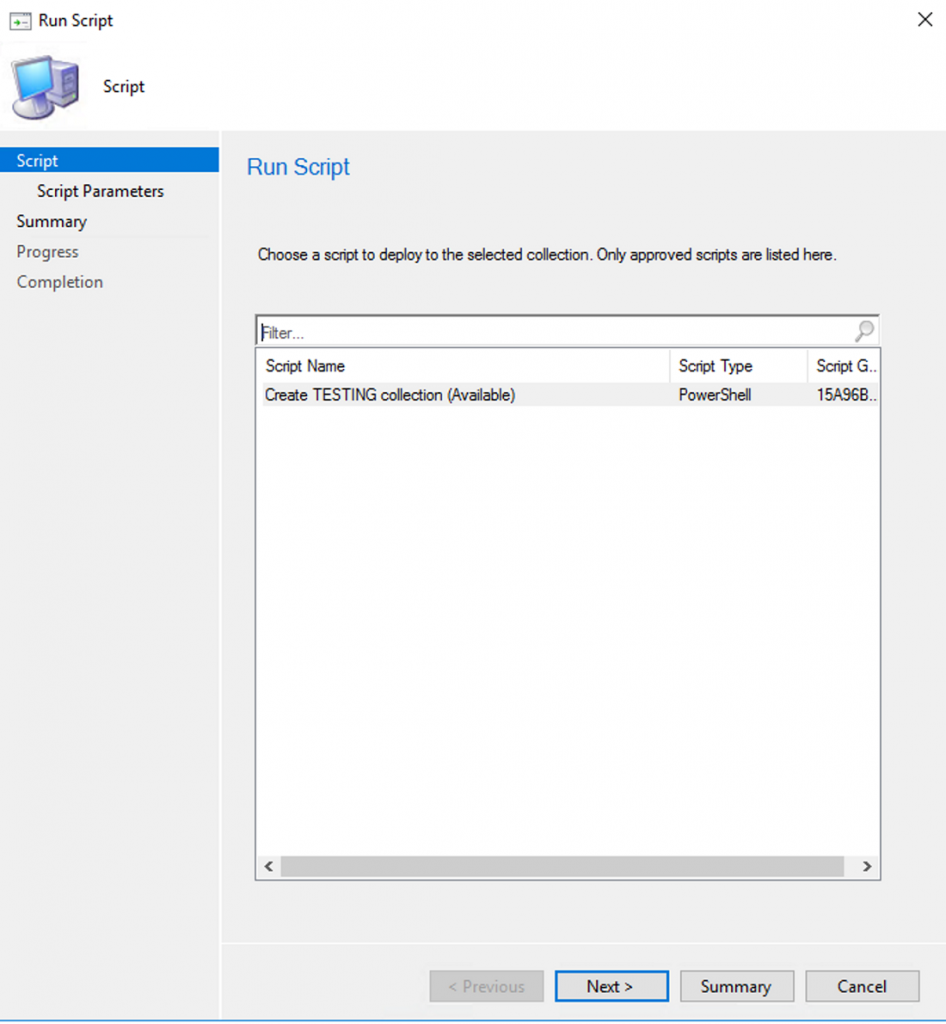
Navigate to your newly create collection, select it and either click Run Script from the ribbon, or right click and select Run Script.
[br]
Click Next.
[br]
Double click in the Value field, then enter the name of the Application you are testing. Our example uses Microsoft Office 365 2016.
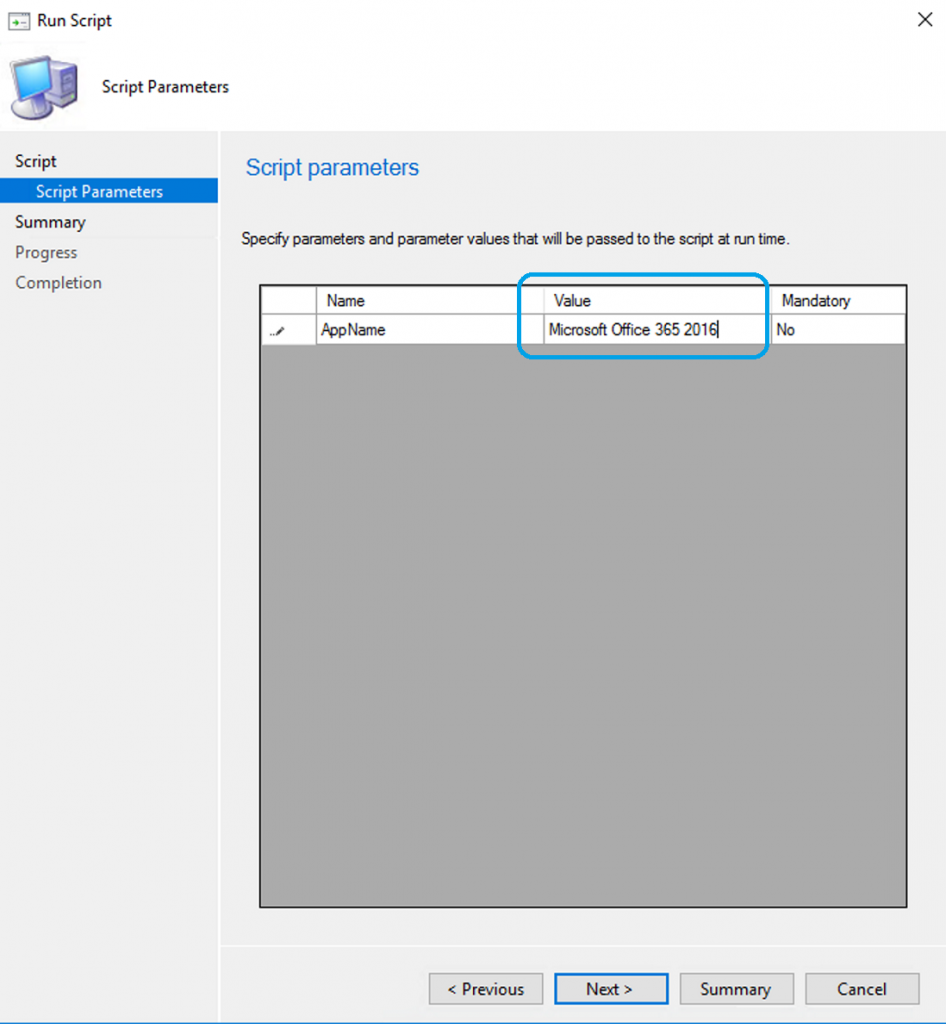
[br]
Click Next (if prompted click Yes).
[br]
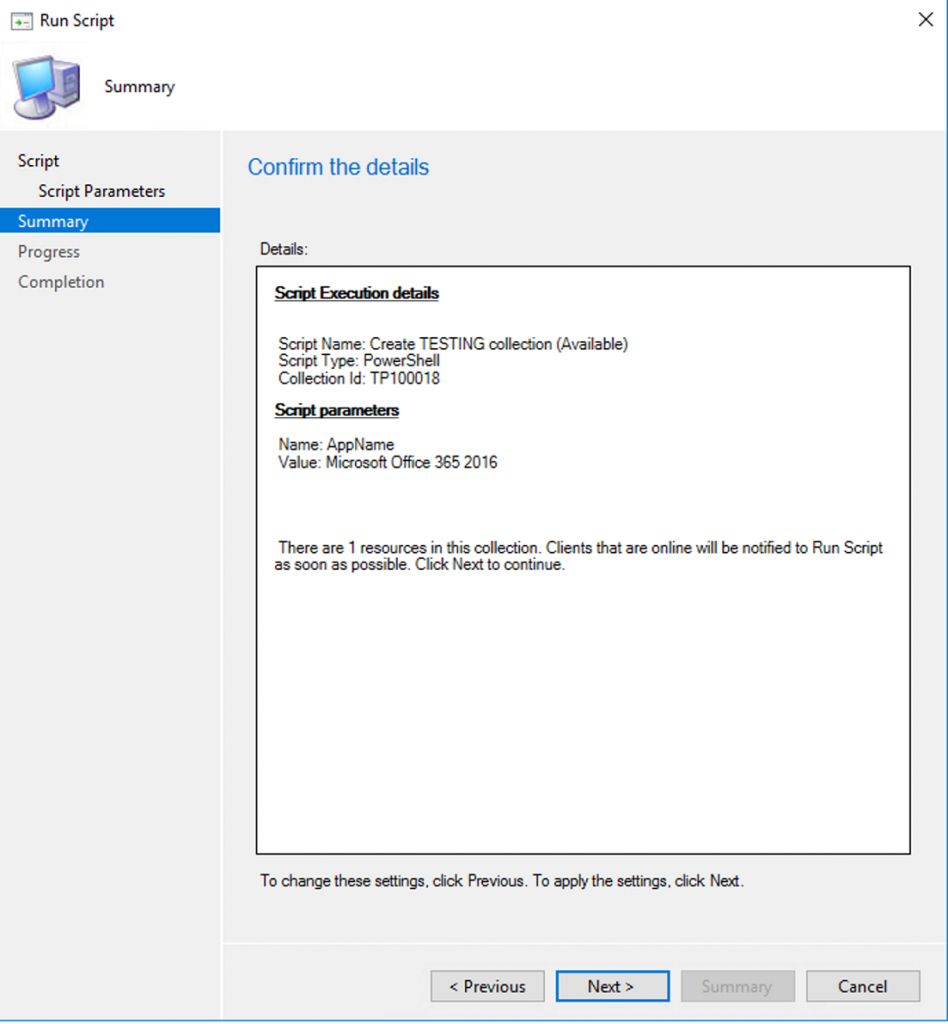
Click Next at the Summary screen.
[br]
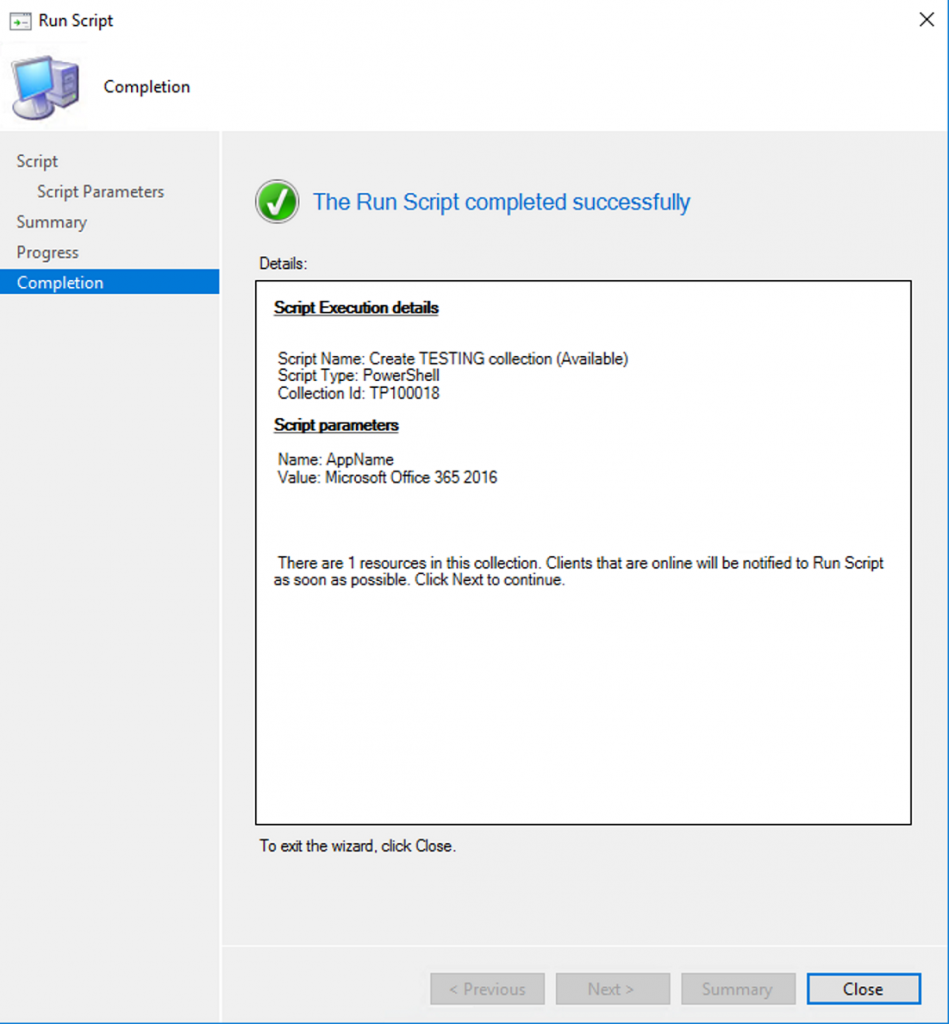
Click Close.
[br]
Results:
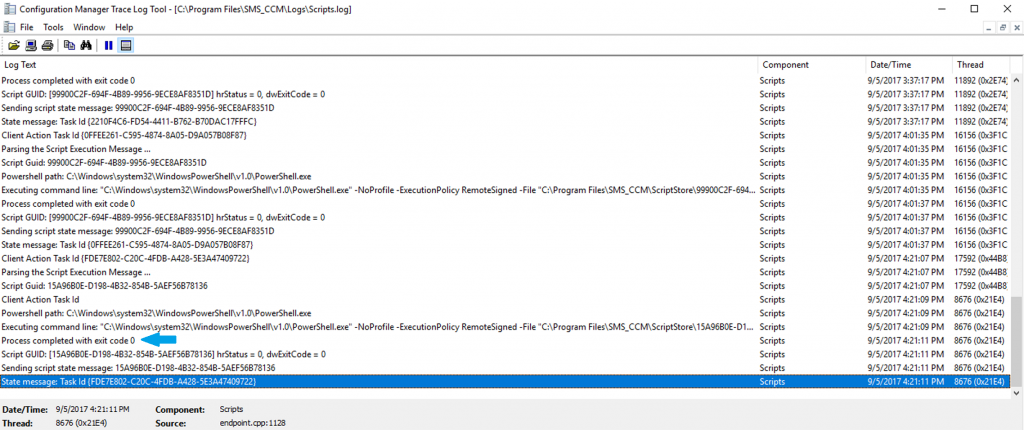
Within a few moments, the script will be pushed down the client (which is our Primary Site) and executed with the supplied parameter. We can watch this happen by viewing the Scripts.log file located in the default client log location. On our site server, its C:\Program Files\SMS_CCM\logs. As you can see our script executed successfully!
[br]
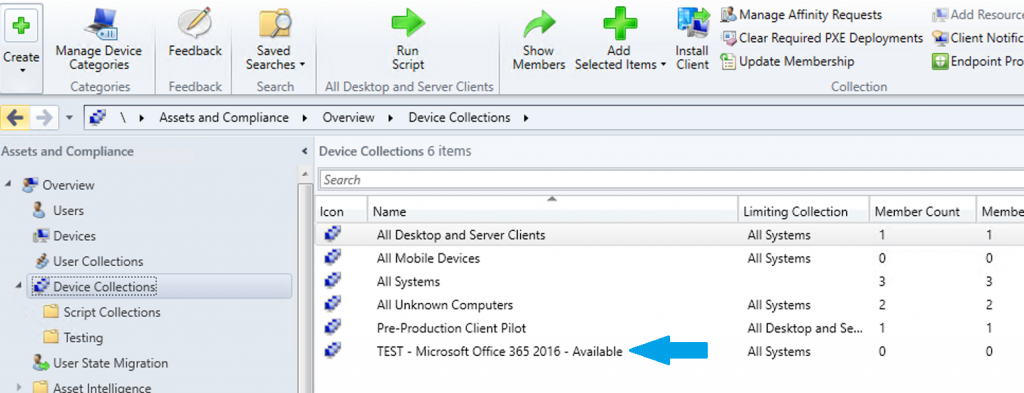
Let’s go look for our collection back in the Device Collections node.
[br]
This is one very basic example. For this particular scenario in real life, I would have PowerShell code that ideally creates the Application based on supplied parameters, distributes the content, creates the collection based off the App Name, and creates an Available deployment for said application to my new TEST collection.
[br]
I know what you are thinking. You can do all this with just a PowerShell script you run either from your machine as an admin or from the SCCM server directly. What you cannot do (natively) though is delegate the ability to run your PowerShell code to others. You would have to give them your scripts, which they can intern modify and break all sorts of things.
[br]
Time to polish up all your SCCM admin scripts and see what you can get into the console and delegate to others! If you attended our Automation Management Summit in St. Louis last year, the theme of course is automation, but more so getting yourself to the point of where you are managing the automation, and delegating to others to execute the actions, then sit back and watch the magic. 🙂
[br]
Notable Limitations
There are some limitations of Scripts that make things a bit more frustrating at this time that I am hoping will be remediated prior to GA release.
- You cannot edit a script once its created. If you need to make changes you must create a new Script
- The parameter field retains the last value that was used when the script ran (Please UpVote on UserVoice if you agree here)
- Still digging but haven’t found a way to get granular with RBAC for who can access what scripts. Could be there and I just haven’t found it yet.
This is tech preview after all so even with the current limitations, hopefully, like me, you now see the massive amount of potential for running managed scripts via SCCM!
[br]
Happy PowerShelling everyone!